Serverless — from the beginning, using Azure functions ( Azure portal ), part II
Follow me on Twitter, happy to take your suggestions on topics or improvements /Chris

This is the second part of this series:
- Serverless — from the beginning, using Azure functions ( Azure portal ), part I, this part focuses on presenting the concept Serverless and also shows how you can build your first Azure function using the portal
- Serverless — from the beginning, using Azure functions ( Azure portal ), part II, we are here
- Serverless — from the beginning, using Azure functions ( VS Code ), part III, in progress
- Serverless — from the beginning, using Azure functions ( Azure CLI ), part IV, in progress
In this article we will cover the following:
- Getting to know the IDE generally , The portal may not be the ideal IDE to write your Azure Functions in but it does contain a lot of great functionality to author your function
- Splitting up in modules , As this is Node.js we can definitely use the CommonJS module system
- Using libraries, You can definitely use NPM to install libraries
- Use HTTP and async/await , you can definitely call other endpoints from our function and present the result
- Logging , there are different ways we can work with logging, let’s see how we can log statements and log at them afterward
Resources
There is always a ton more to learn about functions such as how to work with different types of trigger, how to create APIS, how to document those APIs and so on. We have merely scratched the surface
- https://azure.microsoft.com/en-gb/services/functions/, General landing page for Azure functions
- https://docs.microsoft.com/en-gb/azure/ , Main docs page for Azure
- https://docs.microsoft.com/en-gb/azure/azure-functions/, landing page for Azure Functions documentation
- https://docs.microsoft.com/en-gb/azure/azure-functions/functions-create-first-azure-function, Tutorial to how you create your first function
- https://docs.microsoft.com/en-gb/azure/azure-functions/functions-create-serverless-api, How to create an Serverless API
- Link to all the LEARN modules on Azure functions,
Recap and next steps
Ok, so hopefully you’ve read the first part in this series so you know your way around creating a Function app and your first Azure function and how to run the same in your Portal IDE and in the browser. If not, have a look here
At this point, we’ve merely scratched the surface of what the portal IDE can do. So let’s try to refactor our code from our first post in this series and discover some of the Portal IDEs while we do so.
Getting to know your portal IDE
Once your function has been generated it’s time to get to know your portal IDE. It looks like this:
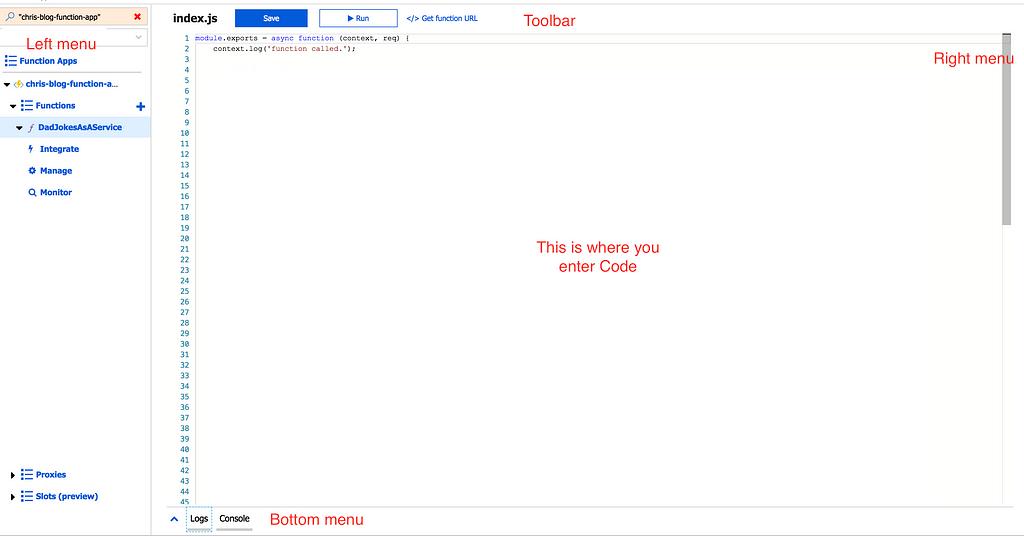
It consists of the following:
Left menu , this is placed on the left side right under your function
- Integrate , this lets you control things like allowed HTTP method, Authorization level, and probably most important Inputs and Outputs, here you can configure what type of events can trigger our function but also what kind of events we can trigger in turn by returning something from the function
- Manage, this is where we manage function keys and host keys. Depending on authorization level you will need one or more of these keys in your requests to be able to call a specific function in your Function app
- Monitor, this shows all the executions of a function, if it went well and how long it took
Toolbar, this is placed at the top and lets you do things like Save, Run and get a URL for your function
The right menu, this is a tabulated menu on your left that allows you to do two things:
- add/remove files to your project, yes you can have a project consisting of many files. It’s Node.js and CommonJS so we can expect things like require and module.exports to work
- Test , we get help constructing requests towards our service, both choice of HTTP method and payload
The bottom menu, this contains two different things:
- Logs, this will show you log output from your function
- Console, this is a terminal window that allows you to browse the directory your Function app project is in and allows you to do most things a terminal would allow
Refactoring
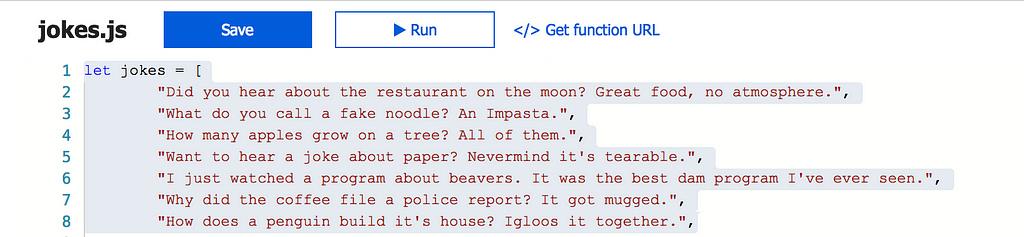
Ok, so we understand better what parts our Portal IDE consists of, let’s now have a look at our code we created in the first part of this series. The first thing we have is this static list of questionable jokes:
// index.js

module.exports = async function (context, req) {

let jokes = [

  "Did you hear about the restaurant on the moon? Great food, no atmosphere.",

  "What do you call a fake noodle? An Impasta.",

  "How many apples grow on a tree? All of them.",

  "Want to hear a joke about paper? Nevermind it's tearable.",

  "I just watched a program about beavers. It was the best dam program I've ever seen.",

  "Why did the coffee file a police report? It got mugged.",

  "How does a penguin build it's house? Igloos it together.",

];

// the rest of the code omitted for brevity
2
3
4
5
6
7
8
9
10
11
12
13
14
15
16
17
18
19
20
21
22
23
What we normally do in Node.js project is to move those to a separate file that we call jokes.js. So, therefore, let’s use our right menu and create a file. We need to take the following steps:
- Expand the right menu
- Add a new file by clicking
+ Add - enter the filename jokes.js
- move our list to jokes.js
- import jokes.js as a module from our main file
index.js
Expand menu
This is pretty straight forward, just click on the menu itself, like so:
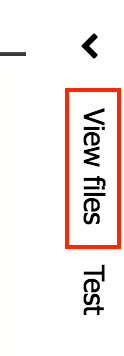
and it ends up looking like so:
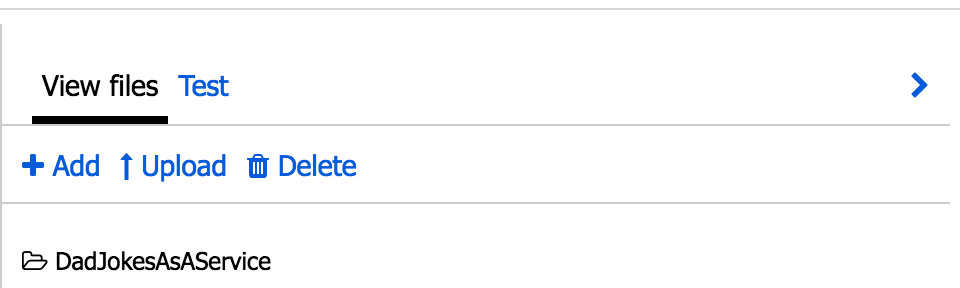
Add a new file and move the list in there
Ok, so we click + Add and end up with this:
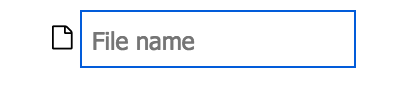
We fill in our filename jokes.js and move over the content from index.js and we should now have:
Don’t forget to addmodule.exports = jokes at the end of
jokes.jsto ensure we can import our jokes list properly.
Import our jokes.js file as a Node module
At the top of our index.js file we can now write:
// index.js

const jokes = require('./jokes');
2
3
and that’s enough to make it work.
Move remaining static content to separate files
We also had a list of URLs for pictures of laughing Dogs that we found on the Internet. Let’s create a file dogUrls.js and place all the URLs in there. It should look something like this:
// dogUrls.js

let dogUrls = [

// your URLs

];

module.exports = dogUrls;
2
3
4
5
6
7
8
9
Just like with jokes.js we can now import dogUrls.js as a Node module as well. So the top of our index.js should now look like this:
// index.js

const jokes = require('./jokes');

const dogUrls = require('./dogUrls');
2
3
4
5
A new project using a REST endpoint
At this point we will move away from our DadJokes service, it’s probably as good as it’s ever going to get, which isn’t saying much 😉 It’s time to take on another favorite of the Internet, cat pictures !!.
I think I heard your squeal of despair all the way from here. Don’t worry this is just for educational purposes so we learn how to work with HTTP calls and downloading dependencies 😃.
Because we are building a new function we need to first create a new function and give it a suitable name so first click on adding a new function:

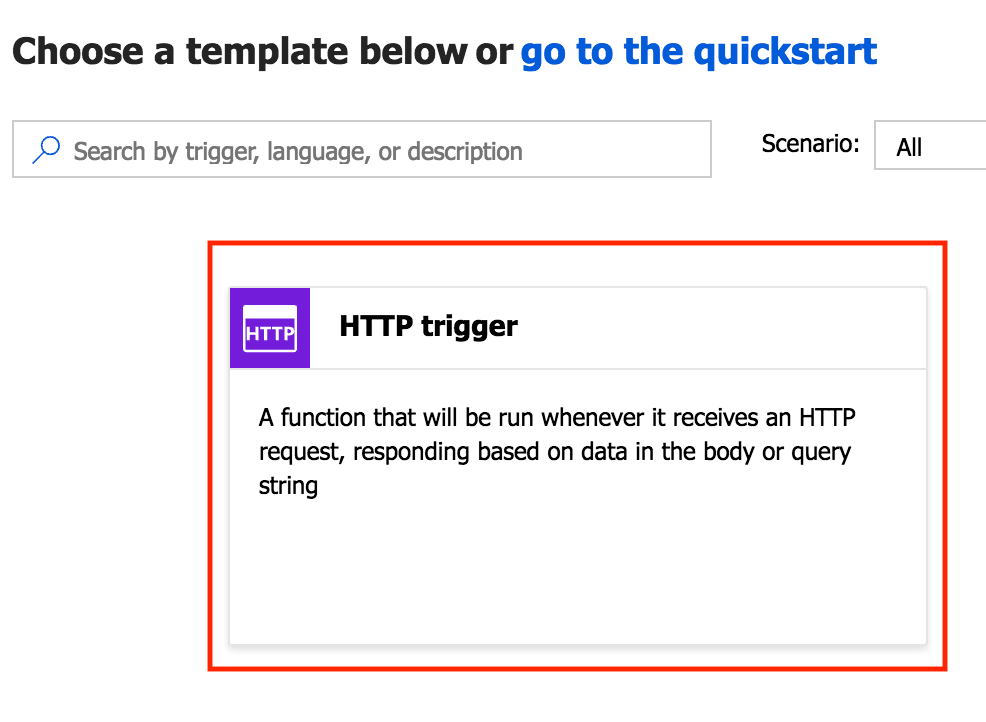
and then when you are presented with Triggers choose HTTP trigger:
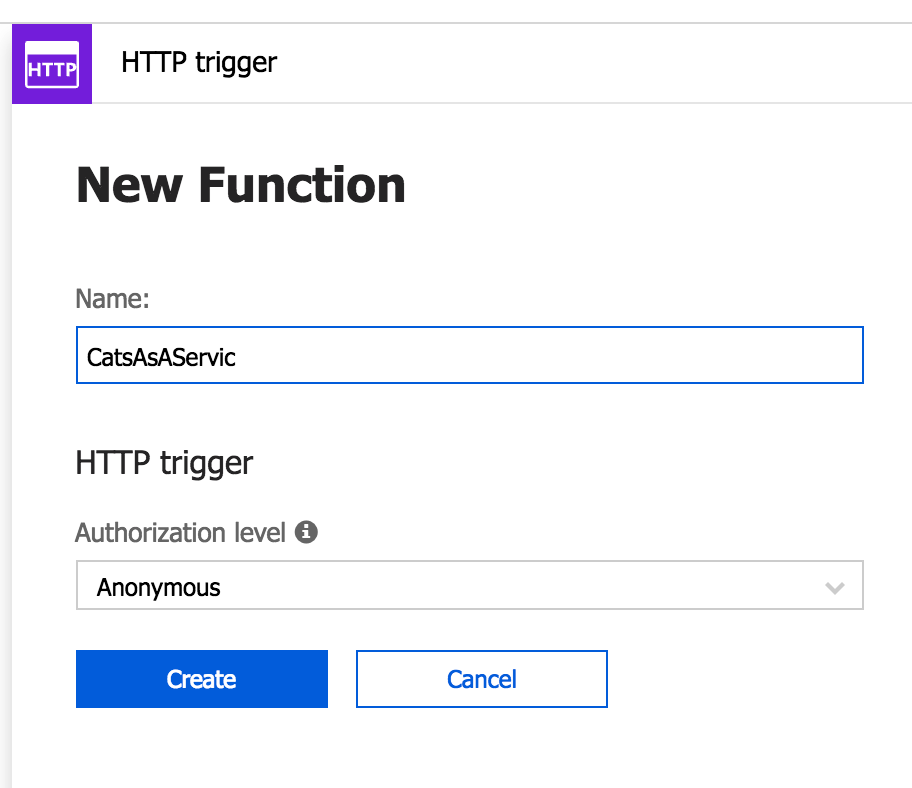
Thereafter set authorization level to Anonymous and give it the name CatsAsAService , like so:
Adding a library
At this point, we have a new function but we need to add the capability to do HTTP calls. To make that happen we need to use a library that can do that for us. We could use the built-in http library but we opt to install the node-fetch library instead with is just like the fetch that you use in the browser. We need to do two things at this point:
- Initialize a proper Node.js project, we do that by running the command
npm init -yin the terminal - install the node-fetch library, we do that by running the command
npm install node-fetch
To accomplish the above we need to head to the bottom menu and click Console, like so:
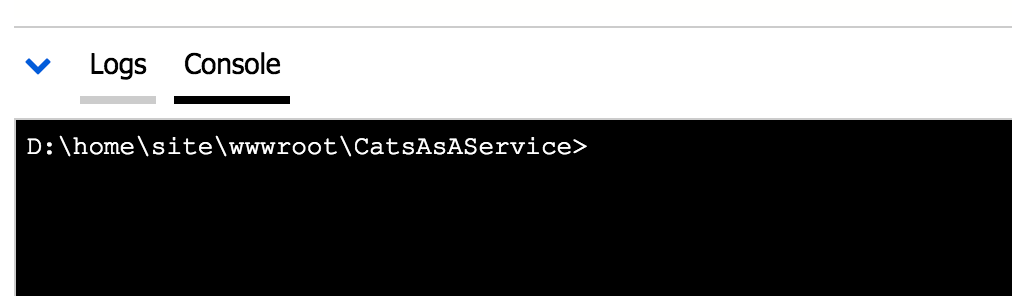
Ok, let’s first hit the command dir, to list our files, we are inside of Windows system 😃
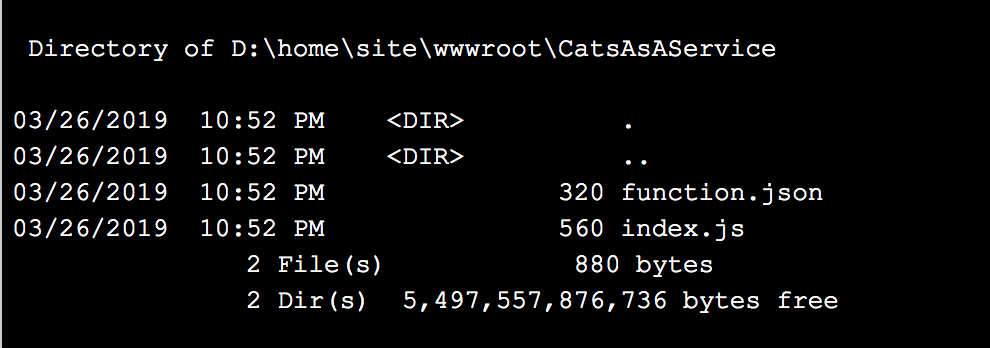
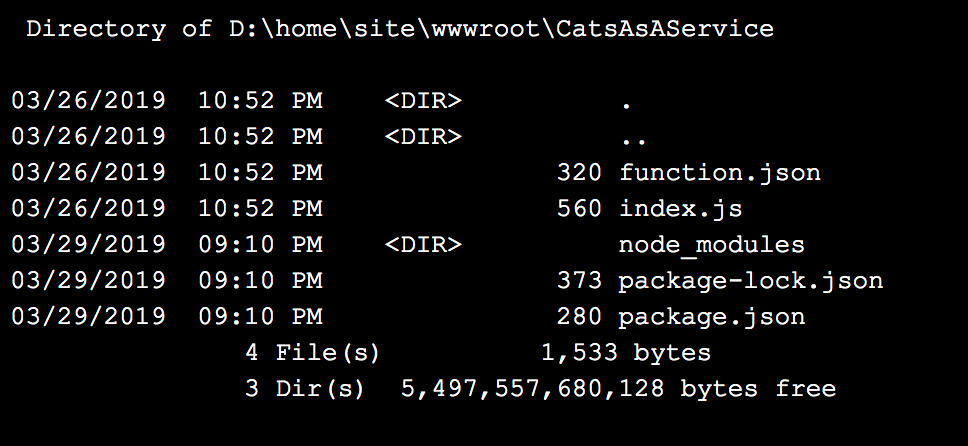
Ok, above we can see we have the files function.json and index.js. Lets now run our commands npm init -y followed by npm install node-fetch. Those commands create a package.json file and a package-lock.json as a result of us initializing our Node project but also downloading node-fetch.
We can also see that node-fetch have been installed by inspecting package.json:
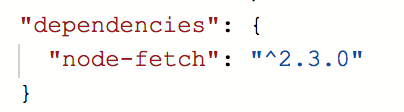
Great, so node-fetch is there and we can thereby use it to make HTTP calls.
Working with logs
With Azure functions, we have an excellent way of logging namely by using our first argument in our Azure function called context. context has a log() method on it that when used can log to our Logs window in our bottom menu.
Let’s do the following:
- Import node-fetch and make a fetch call towards an API
- log the resulting JSON using context.log()
Ok let’s first declare a function that will do the HTTP call, like so:
const fetch = require('node-fetch');

async function getHttp(context) {
 context.log('calling HTTP service')

 return fetch('https://swapi.co/api/people/')

.then(res => res.json());
}
2
3
4
5
6
7
8
9
Above we declare the method getHttp() and then we use our fetch() method and give it a URL. In the then() callback we ensure that we transform the result into JSON, so far so good.
For our next step, we go into our Azure function and invoke getHttp(),. Because it’s using the async keyword we can use await to wait for the result to come back and then log it out, like so:
// excerpt from index.js
module.exports = async function (context, req) {
 const json = **await** getHttp(context);

 context.log(json);

// rest of the function down here
}
2
3
4
5
6
7
8
Running the function at this point gives us the following output in Logs :
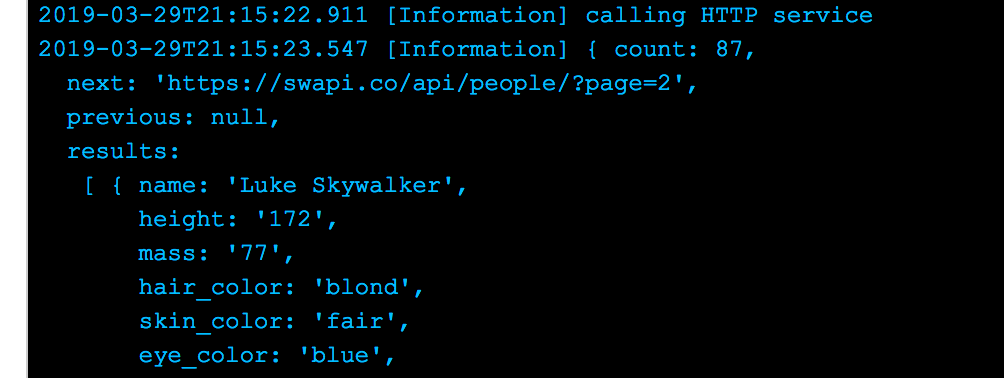
As you can see above we get a nice response, however, it returns 87 records so I cut it after the first item in the list it returns. The URL we were using was for the open Star Wars API and it contains everything we could possibly want to know about the franchise. Let's stay on mission however and go back to Cats..

Sorry Luke 😃
Not at all surprising, trying to Google a Cat API you get a HUGE amount of responses, cause we all know that Internet was designed to support Cat memes, right 😉 I’ve decided on a specific API, cause it didn’t require me to sign up for an API key. I went with thecatapi and the following URL in particular:
You can definitely sign up and get an API key and get a richer experience, but we will only use the free version and we end up getting a response looking something like this:
[
 {
 "breeds": [

 ],
 "id": "26k",
 "url": "[https://cdn2.thecatapi.com/images/26k.jpg](https://cdn2.thecatapi.com/images/26k.jpg)",
 "width": 3817,
 "height": 2553
 }
]
2
3
4
5
6
7
8
9
10
11
We can definitely work with the above and try presenting that in an HTML image, as we did with our Dad Jokes, so let’s do that next:
const [cat] = json;

context.res = {
 status: 200,
 headers: {
 "Content-Type": "text/html"
 },
 body: '<h3>Cat</h3>' + '<br><img src="'+ cat.url +'"/>'
};
2
3
4
5
6
7
8
9
The above digs out the URL from the response and we populate a response object, give it the response type HTML and we let the body consist of an IMG tag with its src set to our JSON URL. The result looks like:

Isn’t that something 😃
That was the end of this part. In our next part, we will show you how to work with functions in VS Code, cause let’s face it, even though the Portal seems to have some nice functions it’s not really the IDE of our dreams. See you in VS Code.
Summary
We aimed to describe the IDE in the portal a bit better and we managed to describe and explain what parts it consisted of and what their purpose was. Moving on we took our old DadJokesAsAService function and refactored it and we thereby introduced how you could be using Node modules. Thereafter we created a new Azure function and learned how we could install a library like node-fetch. We then used node-fetch to call a Cat API responding with JSON and we ended up responding with yet another page with cats on it. Thereby we contributed to Internets original purpose 😉
This was the last part of our Portal series but in our next part, we will look at how we can author Azure functions from VS Code so I hope you are excited about that.